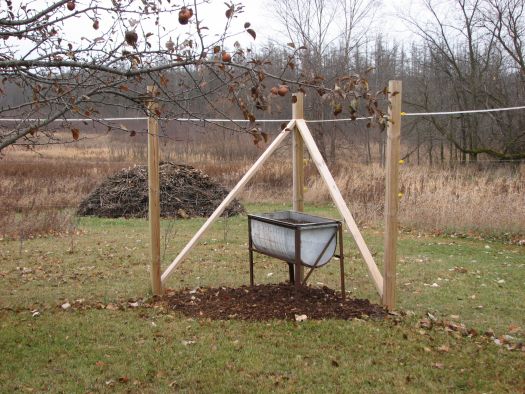
Deer Fence for Garden
Although we live in rural Northwest Wisconsin, we did not have a severe problem with deer in our garden until about 2010. That summer, they ate off most of the beet tops, and then part of the carrot tops, also the stringbean tops, along with eating the swiss chard to the ground. We also were experiencing damage to the strawberries, raspberries, and apple trees. All attempts to discourage them failed, so in 2011, we decided to build a fence. The first step was to determine how much to fence in. It ended up at about 100 x 165, which included our two garden plots, the strawberry patch, and most of the fruit trees.

Since another problem was with rabbits, I decided to go with poultry netting for the bottom. I found that Farm and Fleet stores stocked rolls of 60 x 100 of poultry netting. NOTE: The only netting of this size I could find was made in China, and the quality was very poor. The splices made in manufacturing were very poorly done. I had to patch numerous holes that were big enough for rabbits to get in.
Since 60" is a little low for a deer fence, I added an electric fence wire about 4" above the netting, mainly to discourage critters (such as raccoons) from climbing over. This was topped of with a strand of nylon fence tape at the top of the posts (about 6' up). This tape vibrates in the wind and distracts the deer from trying to jump the fence.
I started out by setting the corner posts. These were 10 long, 4 x 4 treated posts, sunk 3 into the ground, and braced with treated 2 x 4s. I also used the 4 x 4 treated posts in the center of the long runs, where I had to splice the poultry netting. I ran smooth electric fence wire, interwoven, through the top, middle, and bottom of the poultry netting. The wires are fastened to the corner posts and then connected to ratchet fence tensioners on each side. This is to keep the netting from sagging or pulling up from the ground as well as adding strength in the center. NOTE: These pictures were taken before I had the electric fence wire installed above the netting.


For the rest of the fence posts, I found some 8 T-posts at the local Menards. These were driven down about 18 deep into the ground, leaving 6 ½ above ground. This allowed space for an electric wire spaced 4 above the netting (close enough to discourage raccoons from climbing over). This is energized by a solar powered fencer, as it is too far from an electrical source. The ground of the fencer is connected directly to the netting. At the top of the T-posts, I installed some one inch electric fence tape. It is on insulators if I want to energize it, but have not yet. The tape moves in the wind and probably makes the deer reluctant to try to jump the fence (it is only a little over 6' to the fence tape, marginal in height that a determined deer can jump).


I installed two gates into the enclosure: One is 5 wide for a walk-through and is also wide enough for the mower and tiller. The other is 10 wide for larger equipment. The gates are made from dog kennel panels that are 5 x 6 in size. I had to add poultry netting below the gates because of uneven ground (to keep the rabbits out). I fastened the extra netting to the walk-through gate, but had to make a removable panel for the drive-through gate.


So far, the fence has been through 2 seasons without a problem with deer or rabbits. There are a few puckers in the fence, about the height of a fawn, but it has not pulled up off the ground or down on the top. The interwoven and tensioned fence wire seems to do the job quite well.
Any questions about the construction, contact: johnschw520@yahoo.com
Deer Fence For Orchard
The fence for the garden was a success, so the next year (2012) I decided to fence in a small orchard area. This area had several apple trees that the deer had been "pruning". They would eat the branch tips and all the buds they could reach. Since we had just planted two new Honey Crisp trees, we decided to try to protect them.
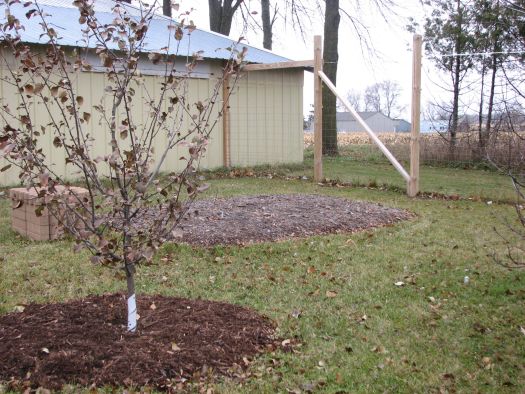
The area I decided to enclose was an area about 50' x 50' to the East of my pole shed. Since the shed is 56' long, I decided to use that as one side. One of the apple trees was too far out of line to be included in the fenced area, but the rest fit ok. The basic construction is the same as the garden fence as far as the corner posts, T-posts, and walk-through gate. I still have to devise some way to cover the area below the gate.
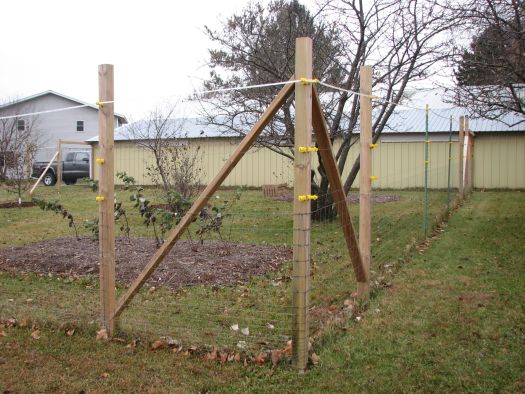
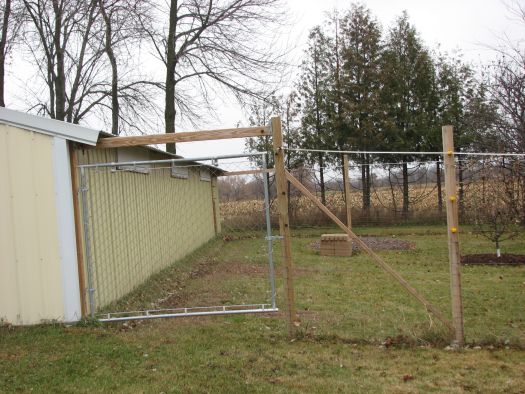
Since the main purpose of this fence was to keep the deer out first, and then rabbits, the construction is different. I went with 40" rabbit-guard welded wire fencing for the bottom. The electric wires are installed about 4" above the welded wire, with a second wire about 15" above that. The fence is topped off with the one inch nylon electric fence tape. The tape is installed on insulators in case I decide to electrify it (it is not electric yet). As the fence is connected to the shed, I used a plug-in electric fencer.

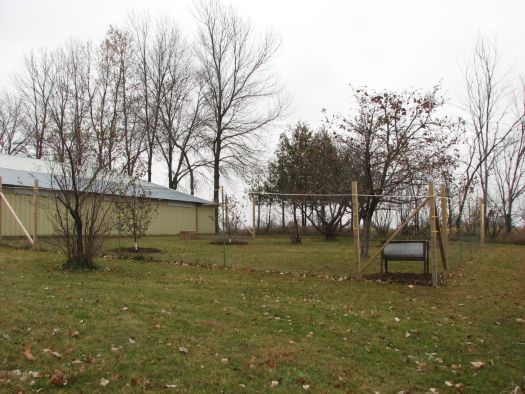
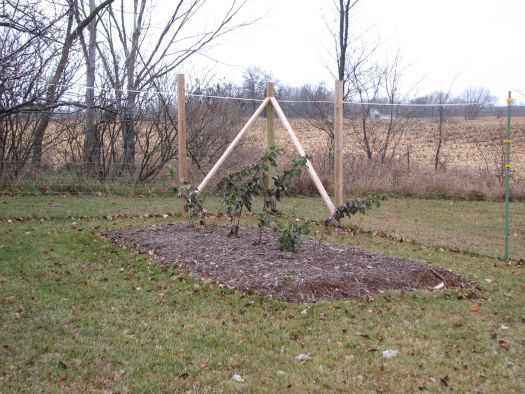
This orchard contains one Honey Gold apple tree and two cherry trees (one has broken off) that were planted quite some time ago. In 2011, we planted two Honey Crisp apple trees, but have yet to get apples from them. I also decided to re-locate some of the raspberries inside the fence. I tilled up a couple of beds and covered them with about 8" of Oak bark mulch. Then I planted a few berry plants in each bed for a start. They are already sending up new plants.
I also added mulch around the new apple trees.
I found an old wash vat in the ruins of the old barn and decided to use it for a planter. I set it up in the corner of the fenced area and planted radish and seed onions in it. I put mulch beneath it to keep the weeds down (and make mowing easier). We got three crops of radish over the summer.
